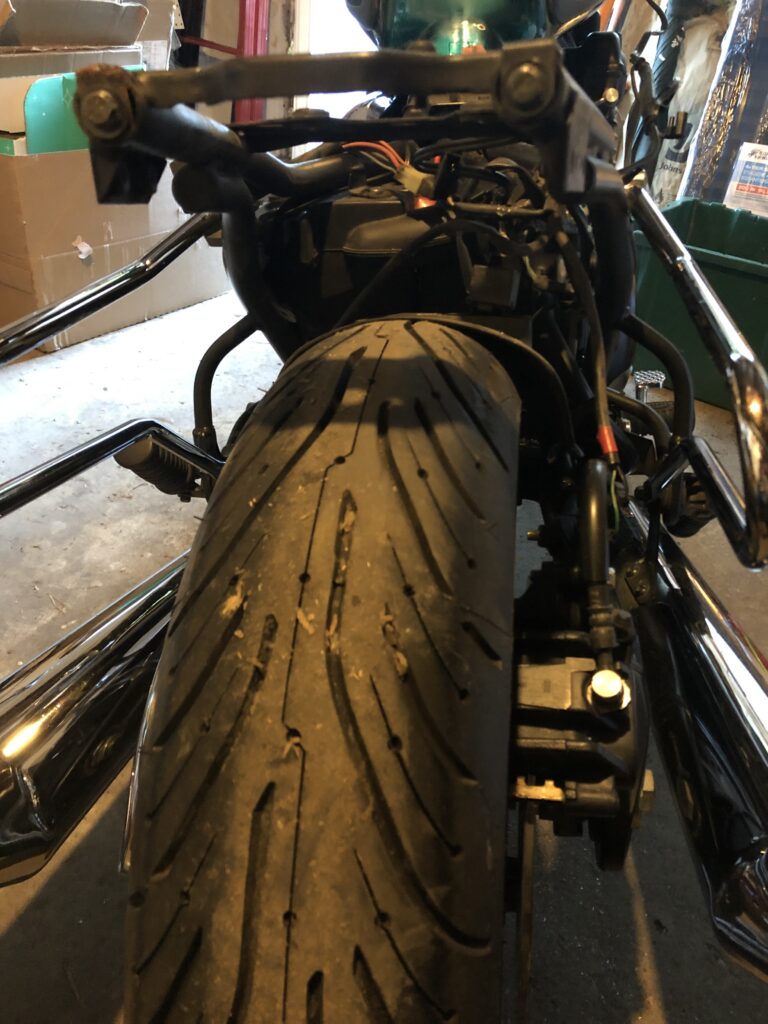
My wife gave a tail tidy kit to me for Christmas. She may or may not have received several links to it in the months ahead of time, but I wanted to clean up the rear end of my bike and lose the massive stock turn signals. I got mine from https://www.maundspeed.com/. Its the Ford replica tail light. There are several kits available at different price points but the one I got came with the under the seat pan, front and rear turn signals(in black), the taillight already installed on the bracket that also holds your license plate. Taking off the stock parts was pretty fun and simple. After pulling the seat off you just kind of “go nuts” unbolting things, the only real hiccup was the front of the stock rear fender. It is riveted to a plastic skirt that covers the rest of front side of the wheel well. I had to drill out those rivets and then used the existing holes that lined up with the Maund under seat pan and ran a couple machine head screws from the underneath so that the smooth bolt head would be towards the tire. When cutting the wires to the original brake light and turn signals I left myself a little length just in case I, or someone else, ever wanted to install those again. I plan on hanging on to them, maybe they will adorn the walls of my workspace but you never know if you might part with something down the road so I wanted to keep them serviceable. Pulling the rear fender and turn signals + brackets off instantly gave me a rush. I was going to be saving so much weight on the rear end of this bike and giving it an instant “Brat” type vibe. I left the luggage racks on because those come in handy sometimes which does deflate the vibe a little but so does having saddle bags on at all. Look, I’m not bashing your bags, I just prefer the look of my bike without them so I only throw mine on when I know I need the luggage. The luggage racks lower mounting point is also where the passenger pegs and the exhaust hanger goes so pulling the racks on and off when I want to have the luggage just isn’t very practical.
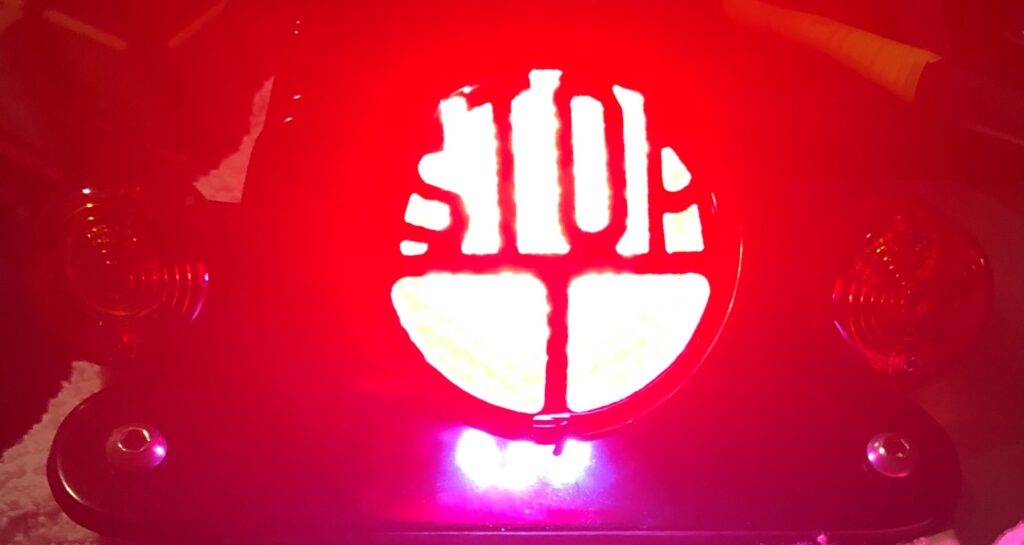
The Maund kit is pretty much bolt on from there. The main bracket housing the taillight also has a mounting point on each side for the turn signals. When switching from stock lighting to LED’s there are a few concerns you may have to address especially on older bikes. The major one is that you’ll now have more power feeding through your system because the LED’s use much less to operate. This may give you a few gremlins to hunt down. The first issue I had was that the brake light was on constantly no matter if I had the brakes engaged or not. Turns out that wiring the taillight correctly can solve that. I’m now feeling extra smug about my superior wiring skills. Then I wired up the turn signals. These I actually did correctly on the first attempt but when I flipped the turn signal switch both signals flashed together and very rapidly. This actually was a power flow issue, there just wasn’t enough resistance. Fortunately after some internet searching and a bit of agonizing about wiring inline resistors, I found a simple fix that wasn’t cost prohibitive to try. I replaced my turn signal relay switch with one that is designed for LED turn signals. The one I got also has a little dial on the side so I can adjust how rapidly my signals blink. Is that important to have? Not at all, but it was available and I thought it was neat and it only set me back 9 dollars.

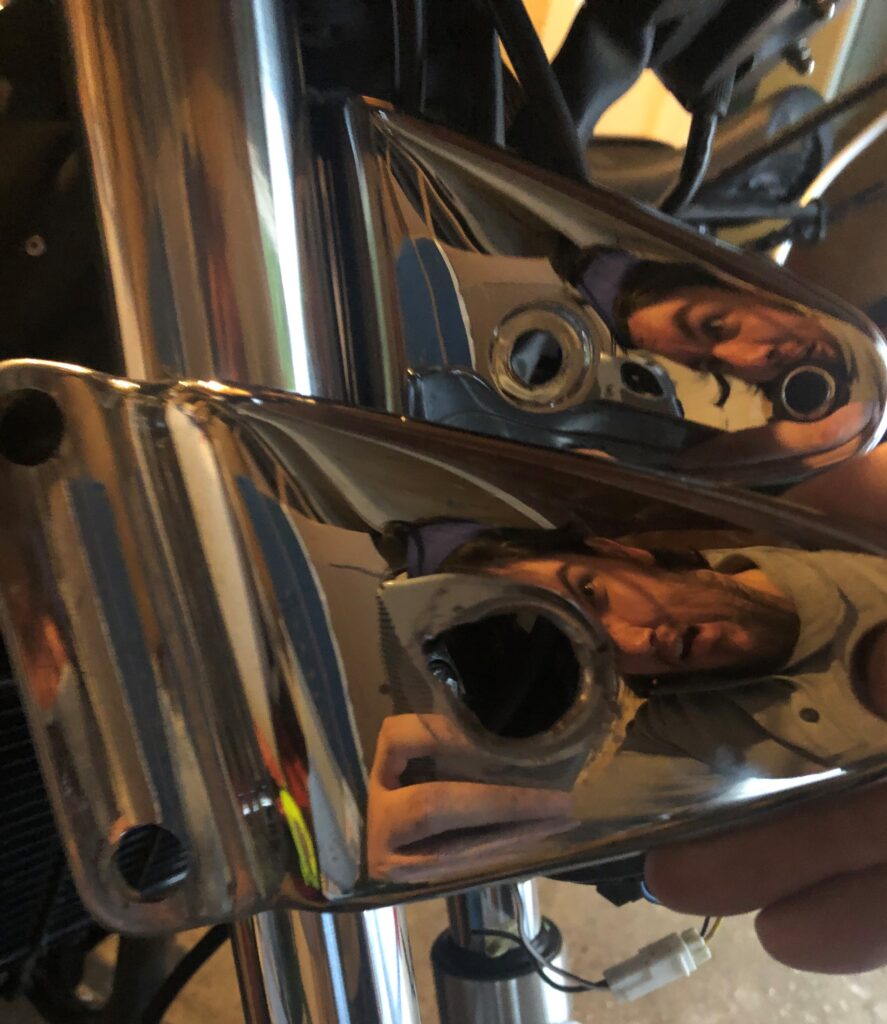
Now that I had the rear end wired and working I thought it would be a simple deal to wire up the front turn signals. The factory headlight mount is also the mounting point for the turn signals. Its a roughly triangle shaped piece of chromed metal with a hole drilled in the center for the signals to attach to. Unfortunately it was at this point that I realized that the original turn signal wasn’t broken and fixed with putty, it was the headlight bracket itself. When the bike was dropped by the previous owner, the turn signal was so tough that it punched through the bracket leaving a much bigger and jagged hole. Getting a replacement turned into a small ordeal as the first one shipped to me was rusting, the chrome was scarred and certainly didn’t look like the advertised “new old stock” condition for the part I paid for. This looked like a used part that was only in slightly better condition than the one I was replacing. Fortunately after sending a few pictures that I took the moment I opened the package and emailing the company right away, they had a replacement out to me in a reasonable amount of time. The second one still isn’t perfect but I was content to buff and polish it to a 98% new state rather than wait for a third replacement and it was in much better condition than the first replacement. The company has a ton of parts in their online catalog and isn’t one of the big motorcycle parts and accessories sites that we all know and love. I’m not going to post who they are because they were very responsive when I contacted them and they did try to make it right. I’m also not going to give them any free advertising because the second replacement bracket was supposed to have been inspected before shipping and that clearly didn’t happen.
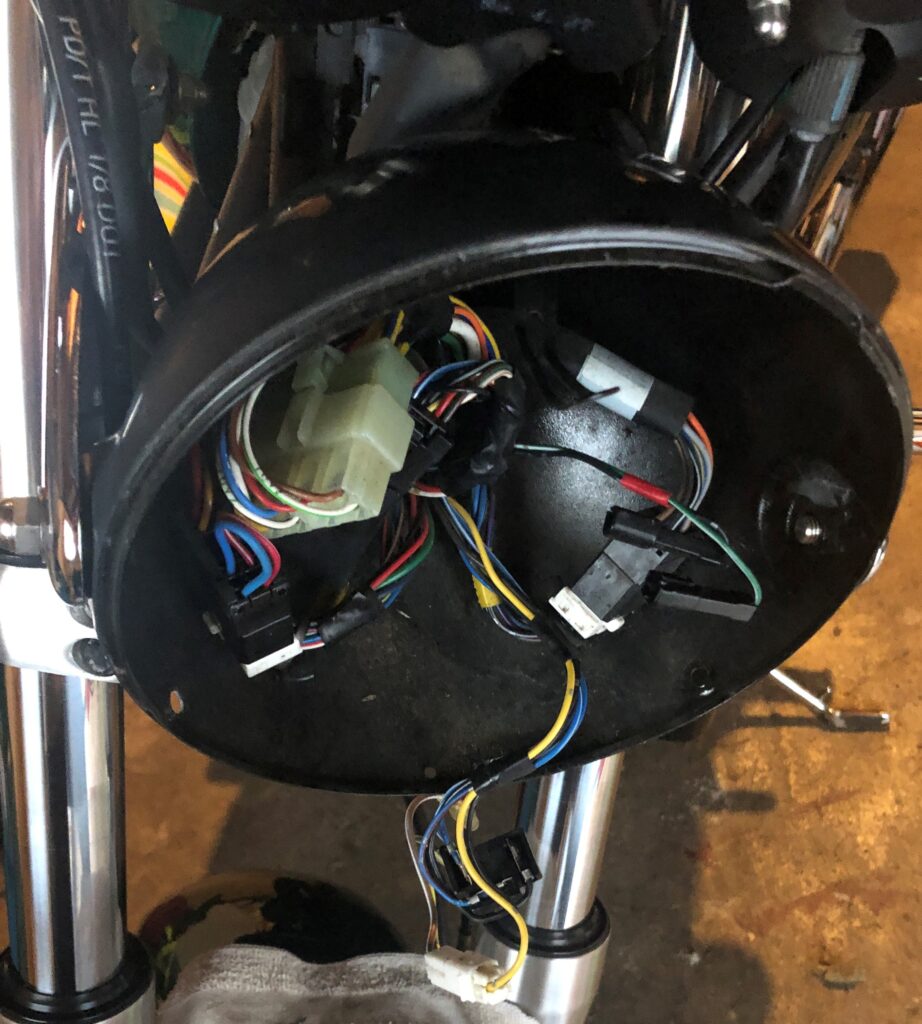
Now that I had all the parts I needed I could pull the headlight out of the casing and get to work. I had already wired the rear turn signals successfully so I was confident that the front turn signals would go in quickly. For the most part they did. The rats nest of wiring held in the headlight housing is a bit of a pain to navigate. I was also using heat shrink electrical connectors to ward off any moisture and that was more difficult with all those wires packed in there but I managed. I tasted sweet victory. Wiring of any type has always been a nemesis of mine. I don’t like doing it. Its delicate work that is easy to mess up and you can only hope that your fuse box catches the problem before you fry a part, or some wiring burns up. Plus you have to cut wires, strip wires, splice or connect wires, all the while using up just a little bit of the extra length each time and sometimes you don’t have a lot of extra left; especially on older things that may have been modified or replaced multiple times in their lives. A total rewiring is just not in my wheel house.
It was a fantastic winter project that got me feeling closer to my machine than I did last year. I now have a deeper sense of pride in my bike because I did the work myself and its a big noticeable change to the aesthetic. Going down to the basement after a long day of work to turn a wrench was so gratifying. Having run into a few gremlins in the process I feel like my understanding of those wiring systems has grown as well, and I won’t be as daunted if I get to do something like that again. Plus if you work behind a desk like I do, anything to get your hands dirty and accomplish a real tangible thing just feels great. “Hey Guys! Check out this sick spreadsheet I created! You like that table? Wait till you see the chart that goes with it.” That’s boring isn’t it? “Hey Guys! Check out this sick tail tidy, You like those new turn signals? They look so much cleaner than the stock originals.” That’s much more engaging!
I’m not that much of a internet reader to be honest but your sites
really nice, keep it up! I’ll go ahead and bookmark
your site to come back in the future.
Many thanks
Excellent post. I am going through a few of these issues as well.. Ingeborg Stavros Windham
Excellent bike, strong brakes and also comfortable riding placement. Lottie Hammad Diandre
Only wanna say that this is extremely helpful, Thanks for taking your time to write this. Jasmine Milton Colwell
This is one awesome blog article. Really looking forward to read more. Fantastic. Grazia Bradley Wachtel